Section 4.6
Coolant Filter
Use these procedures to remove and install the coolant filter.
Section 4.6.1
Removal of Coolant Filter
Remove the coolant filter as follows:
- Relieve the cooling system pressure by removing the radiator cap prior to removing the coolant filter.
- Loosen and remove the coolant filter using the filter wrench/strap. The filter is located on the rear right-hand side of the front cover. See Figure
"Coolant Filter"
.
Note: The coolant filter header is equipped with two check valves to stop the flow of coolant when the filter is removed.
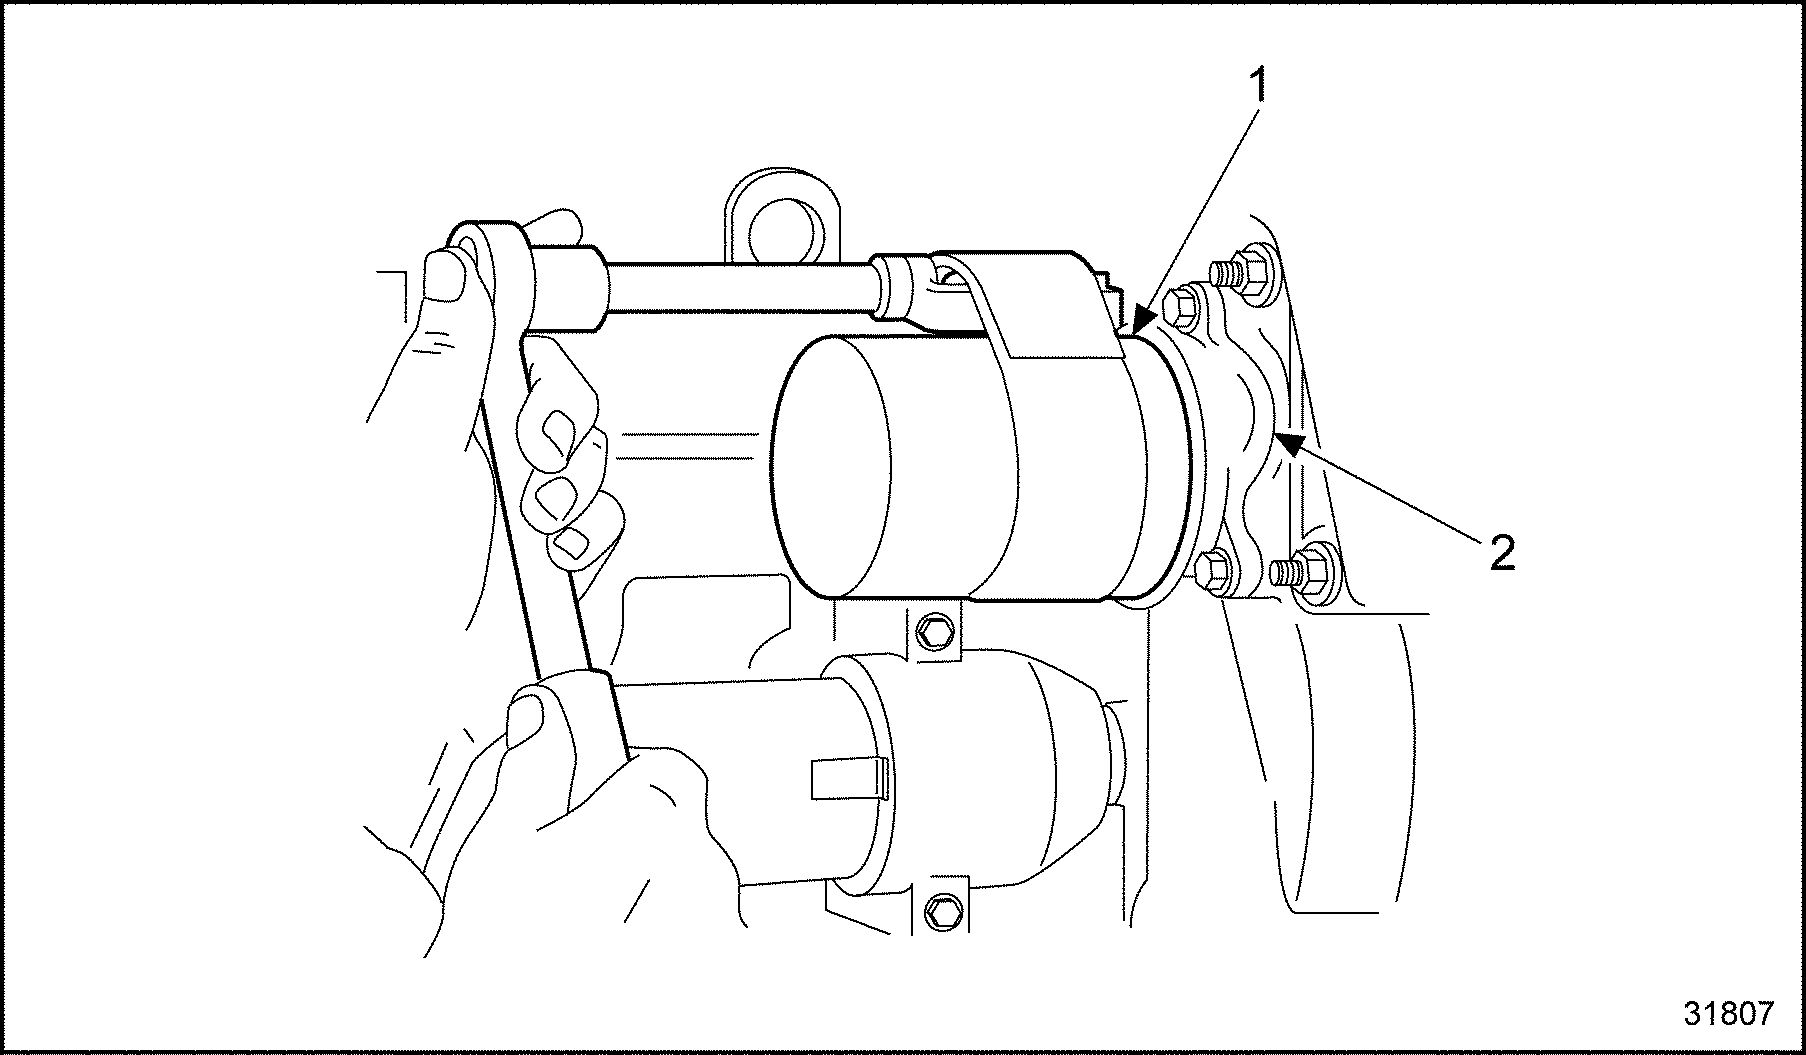
1. Coolant Filter
2. Coolant Filter Header
Figure 1. Coolant Filter
- Loosen and remove three coolant filter header mounting bolts. Remove the coolant filter header, check valves, seal and O-ring. Discard the O-ring and seal. See Figure
"Coolant Filter Removal"
.
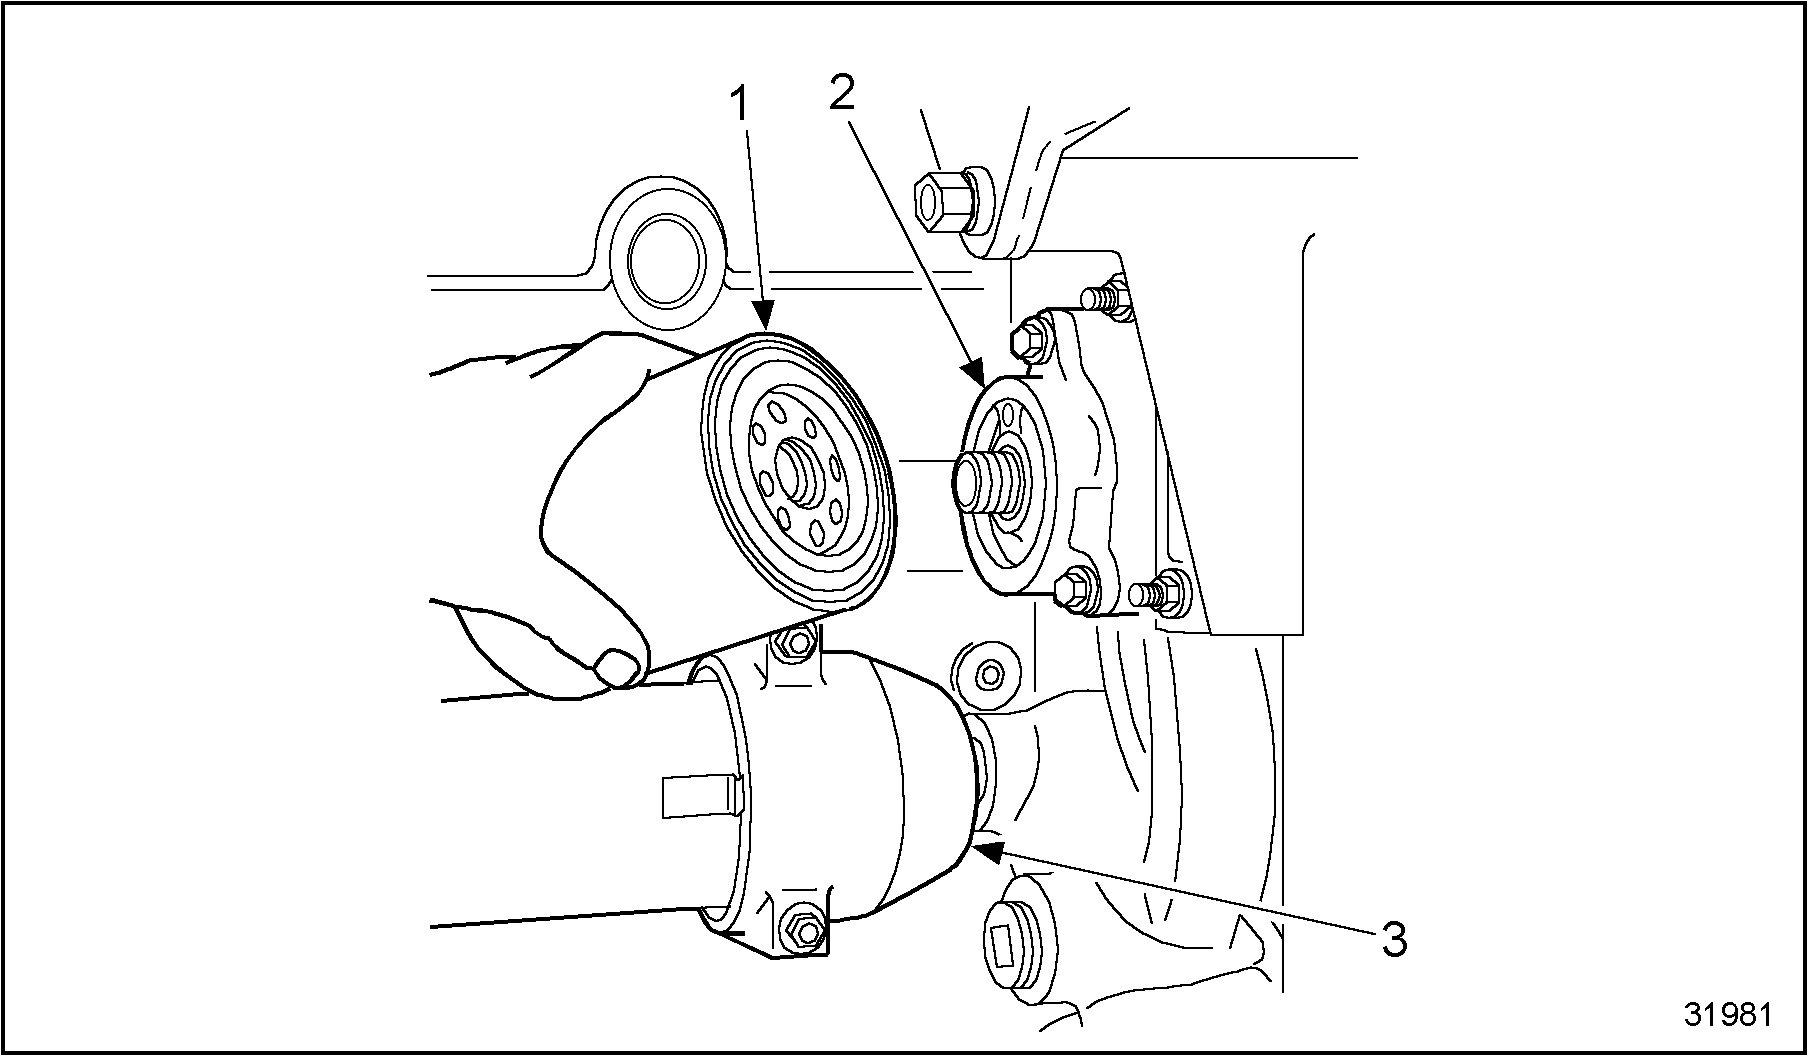
1. Coolant Filter
3. Oil Cooler
2. Coolant Filter Header
Figure 2. Coolant Filter Removal
Section 4.6.2
Installation of Coolant Filter
Install the coolant filter as follows:
- Install a new O-ring and seal into the rear of the coolant filter header. See Figure
"Coolant Filter Header"
.
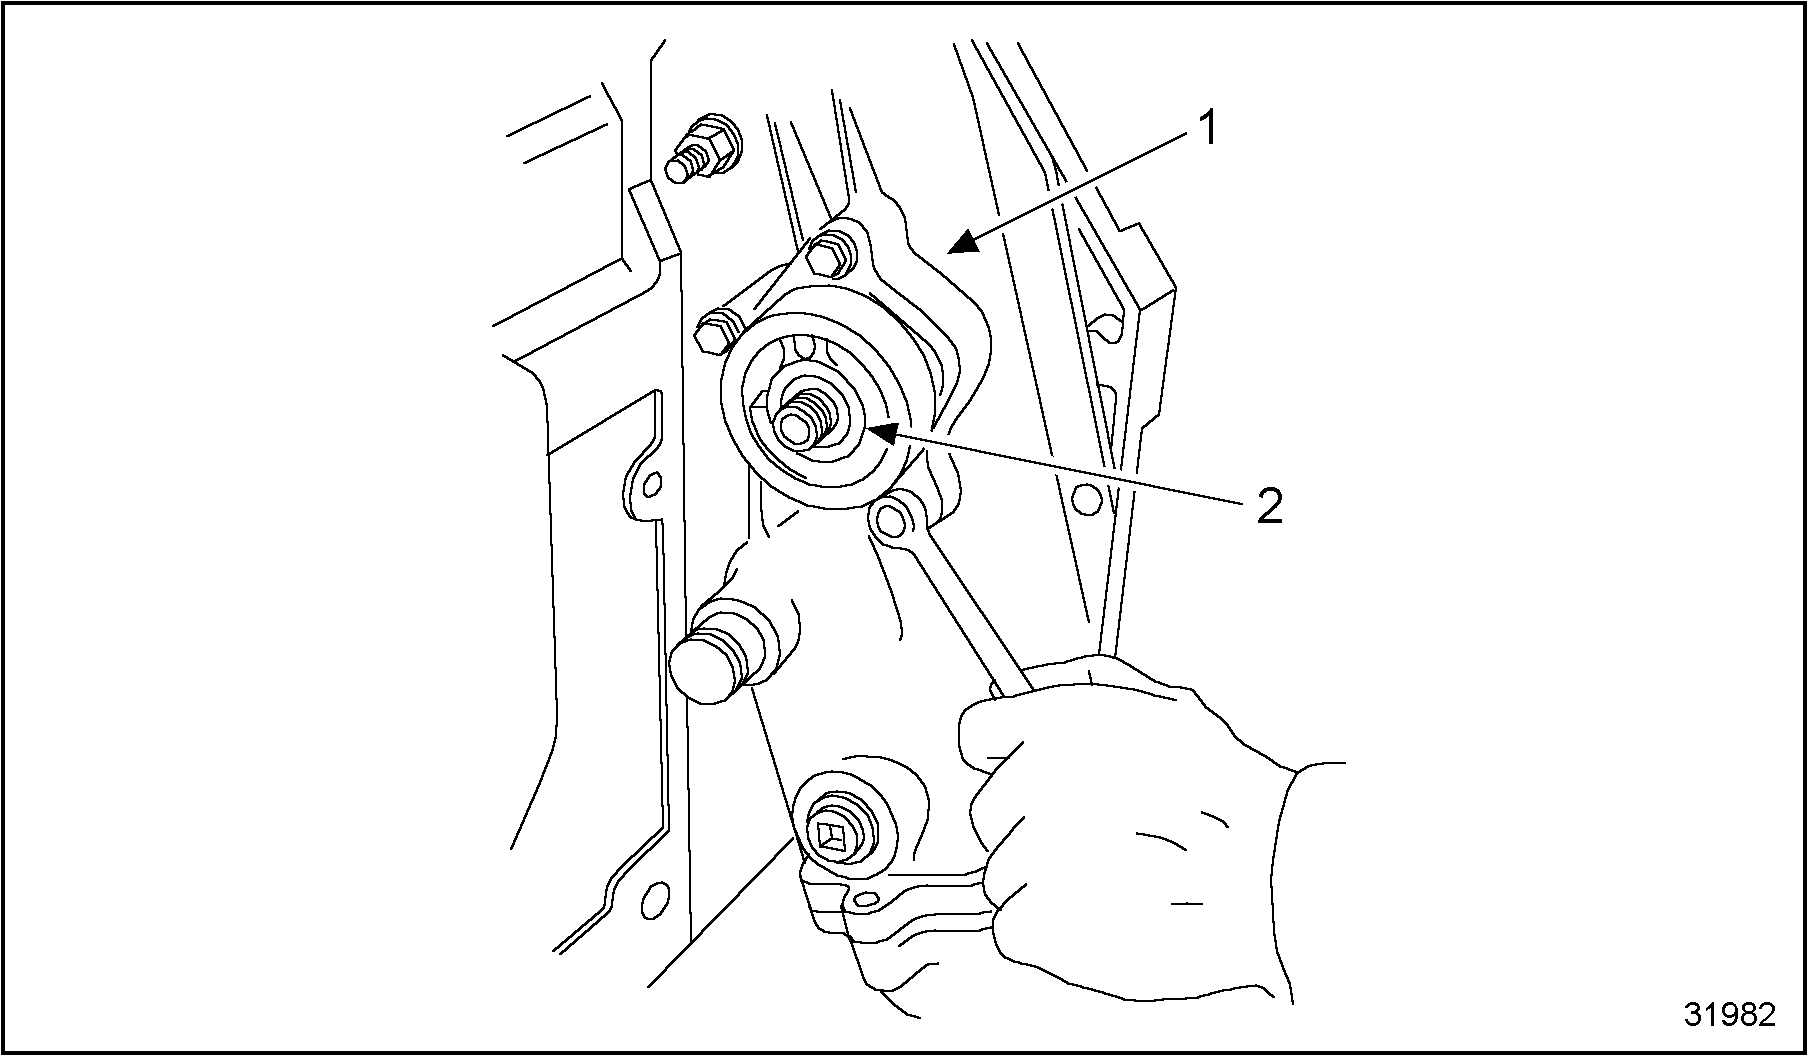
1. Front Cover
2. Coolant Filter Header
Figure 3. Coolant Filter Header
- If removed, place check valves into header and install coolant filter header onto mounting pad of front cover and secure with mounting bolts. Torque to specifications. Refer to Specifications "Additional Information"
in Section
. See Figure
"Check Valve"
.
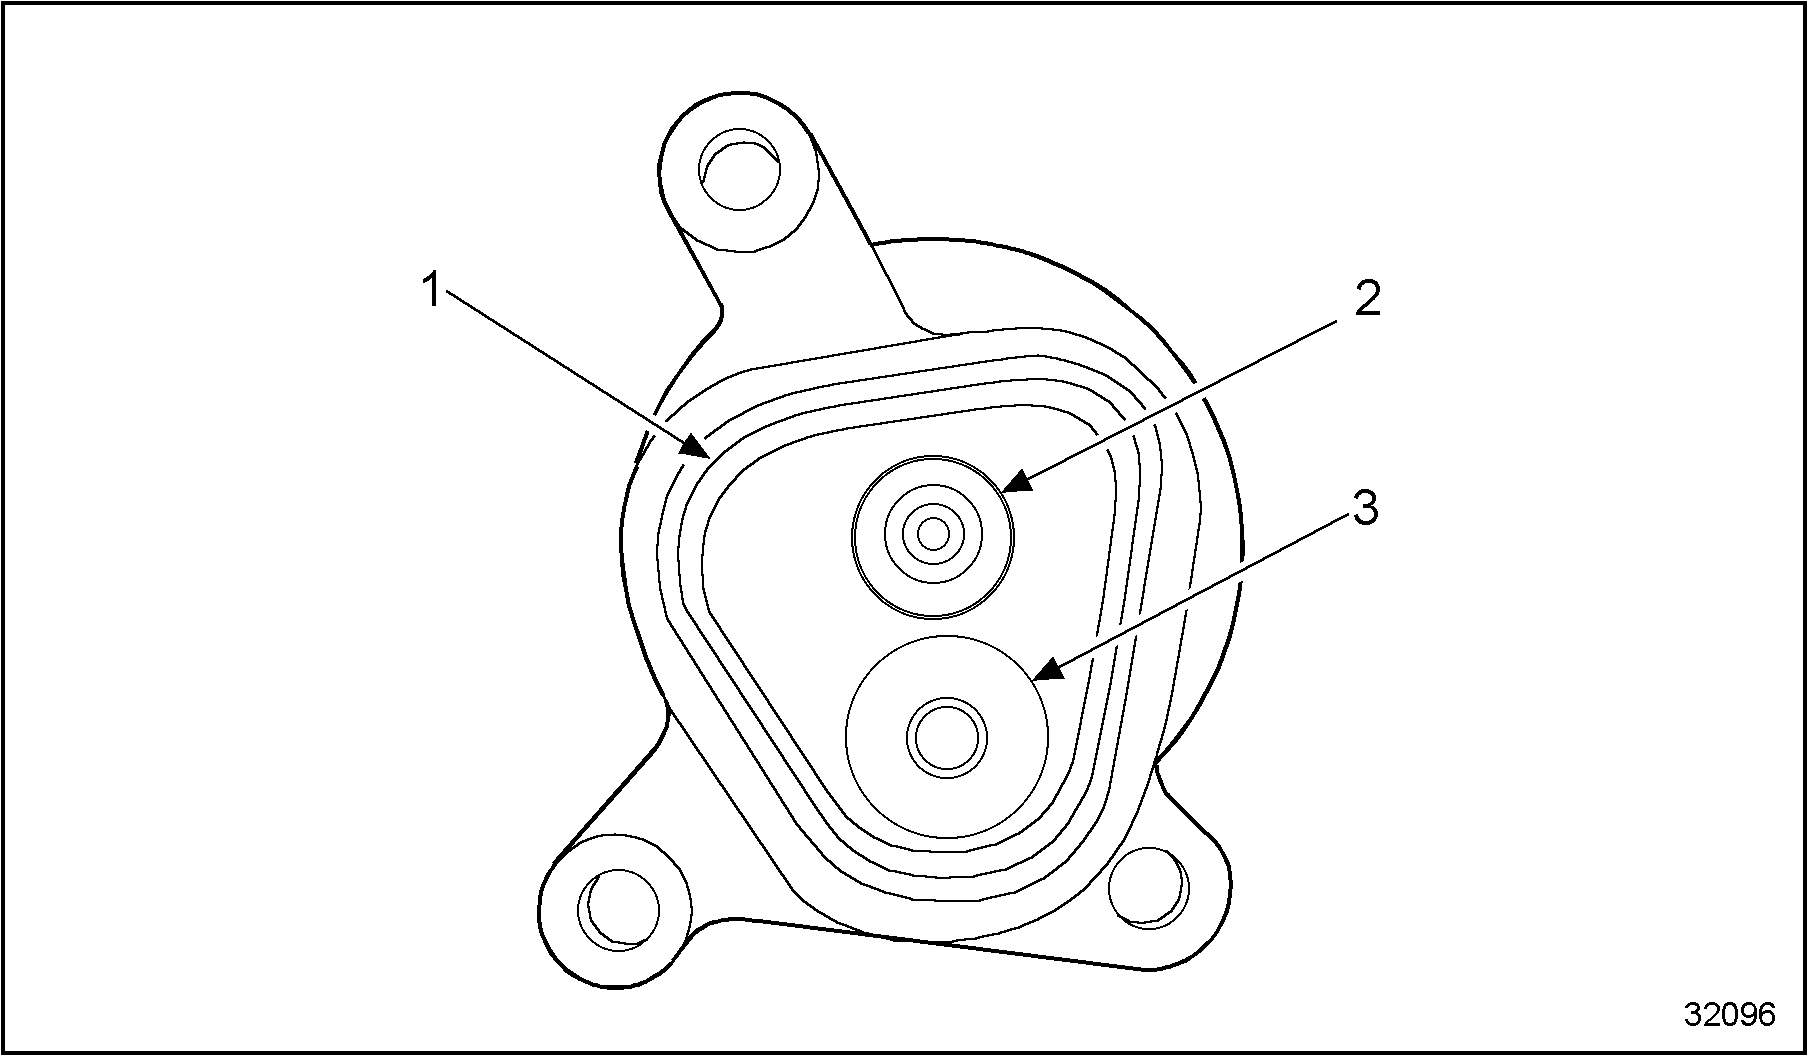
1. Seal
3. O-ring
2. Check Valve
Figure 4. Check Valve
- Lubricate coolant filter gasket with clean engine oil and install a new coolant filter. Tighten coolant filter until gasket makes contact with the coolant filter header, then tighten one additional full turn. See Figure
"Coolant Filter Installation"
.
1. Coolant Filter
3. Oil Cooler
2. Coolant Filter Header
Figure 5. Coolant Filter Installation
| Series 40E Service Manual - 6SE410 |
| Generated on 10-13-2008 |