Section 2.36
Exhaust Gas Oxygen Sensor for Series 60G Engines
The Exhaust Gas Oxygen Sensor is mounted in the vehicle exhaust pipe within 12 inches of the turbocharger exhaust outlet in the top half of the pipe. The sensor is threaded into an M18 boss welded to the exhaust pipe. The sensor works in conjunction with an oxygen sensor interface module that is mounted to a sensor bracket located at the rear of the cylinder block above the flywheel housing. See Figure "Exhaust Gas Oxygen Sensor" and see Figure "Oxygen Sensor Interface Module" .
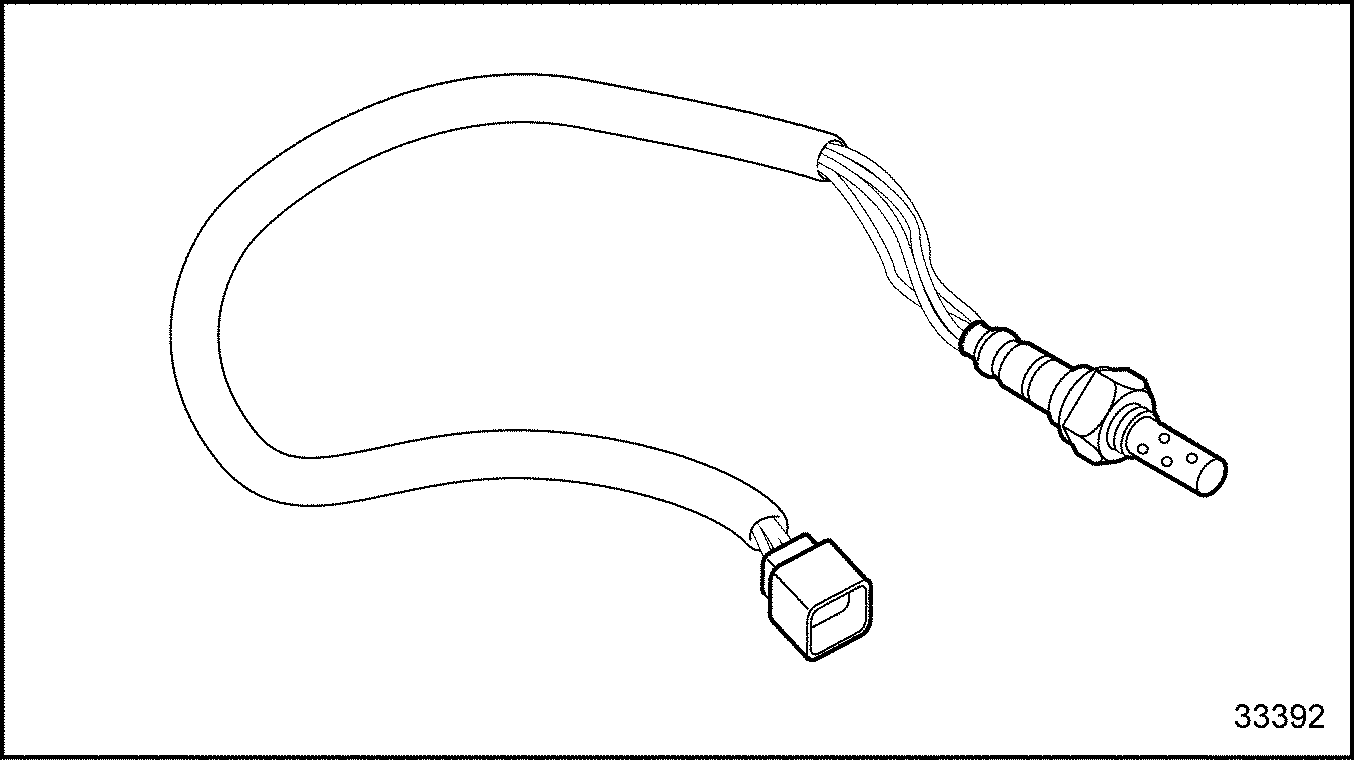
Figure 1. Exhaust Gas Oxygen Sensor

Figure 2. Oxygen Sensor Interface Module
The oxygen sensor and interface module provide a signal to DDEC which is proportional to the concentration of oxygen in the exhaust gas. DDEC calculates the air-fuel ratio from this signal and uses the data in controlling fuel delivery to the engine. The exhaust gas oxygen sensor is electrically connected to the interface module through the oxygen sensor wiring harness. The oxygen sensor interface module is electrically connected to DDEC and to battery power through the engine sensor harness. The oxygen sensor is a heated sensor. This allows the sensor to function at the optimum temperature range for accuracy. The interface module is a microprocessor that provides heater control, signal processing and diagnostic capabilities. The output from the oxygen sensor and interface module can be monitored using the Diagnostic Data Reader (DDR). The output is displayed as air fuel ratio in Lambda units. Lambda is the ratio of actual air fuel ratio to the stoichometric air-fuel ratio.
NOTICE: |
|
Exposure to solvents or excessive amounts of oil or water can cause exhaust gas oxygen sensor failure. Exercise care when cleaning or performing repairs on air system, cylinder kit, valve train, turbocharger and exhaust system components. It may be necessary to replace the oxygen sensor with a plug and run engine without the sensor briefly to prevent exposure. |
Section 2.36.1
Replacement of the Exhaust Gas Oxygen Sensor and the Oxygen Sensor Interface Module
The exhaust gas oxygen sensor and the oxygen sensor interface module are not serviceable and must be replaced as an assembly. No adjustments are required.
Section 2.36.2
Removal of the Exhaust gas Oxygen Sensor and the Oxygen Sensor Interface Module
Remove the exhaust gas oxygen sensor as follows:
- Disengage the connector between the oxygen sensor wire harness and oxygen sensor wire pigtail.
- Loosen and remove the oxygen sensor from the exhaust pipe.
Remove the oxygen sensor interface module as follows:
- Disconnect oxygen sensor harness six–pin connector at interface module.
- Disconnect three–pin engine sensor wire harness connector at interface module.
- Disconnect two–pin engine sensor wire harness connector at interface module.
- Remove three M6 bolts that attach the module to the sensor bracket.
- Remove module from bracket.
Section 2.36.3
Installation of the Exhaust Gas Oxygen Sensor and the Oxygen Sensor Interface Module
Install the exhaust gas oxygen sensor as follows:
NOTICE: |
|
Use of excessive amount of anti-seize compound or direct sensing element contact with compound can cause sensor poisoning and erroneous sensor readings or failure. |
- New sensors have antiseize compound pre-applied to the threads of the sensor. If reinstalling a used sensor, lightly apply antiseize compound to threads of sensor.
- Install sensor in boss and torque to 40–50 N·m (29.5–36.9 lb·ft).
- Connect oxygen sensor harness to sensor.
- Turn on ignition and, with the Diagnostic Data Reader, clear the AFR (air fuel ratio) learn table.
- Start engine and check for check engine or stop engine light.
Install the oxygen sensor interface module as follows:
- Position module on sensor bracket and install three M6 attaching bolts.
- Connect to three-pin and two-pin connectors in engine sensor wire harness.
- Connect to six-pin connector in oxygen sensor wire harness.
- Turn on ignition and, with the Diagnostic Data Reader, clear the AFR (air fuel ratio) learn table.
- Start engine and check for check engine or stop engine light or read any diagnostic codes. If any code other than 25 is obtained, refer to the Detroit Diesel Single ECM Troubleshooting Manual (6SE497).
| Series 60 Service Manual - 6SE483 |
| Generated on 10-13-2008 |